Is the Keurig Mini Flashing Light Blinking? We’ve all been in the morning rush, running late yet determined to grab a cup of coffee before rushing out the door. It’s a race against the clock, but that coffee fix is worth it, right?
But wait – disaster strikes! The Keurig mini flashing light seems to have gone haywire, leaving you without your much-needed caffeine fix.
Don’t worry, though; we’ve got you covered with some helpful solutions to get your Keurig back up and running in no time.
How does your Keurig mini Flashing Light usually function under normal circumstances?
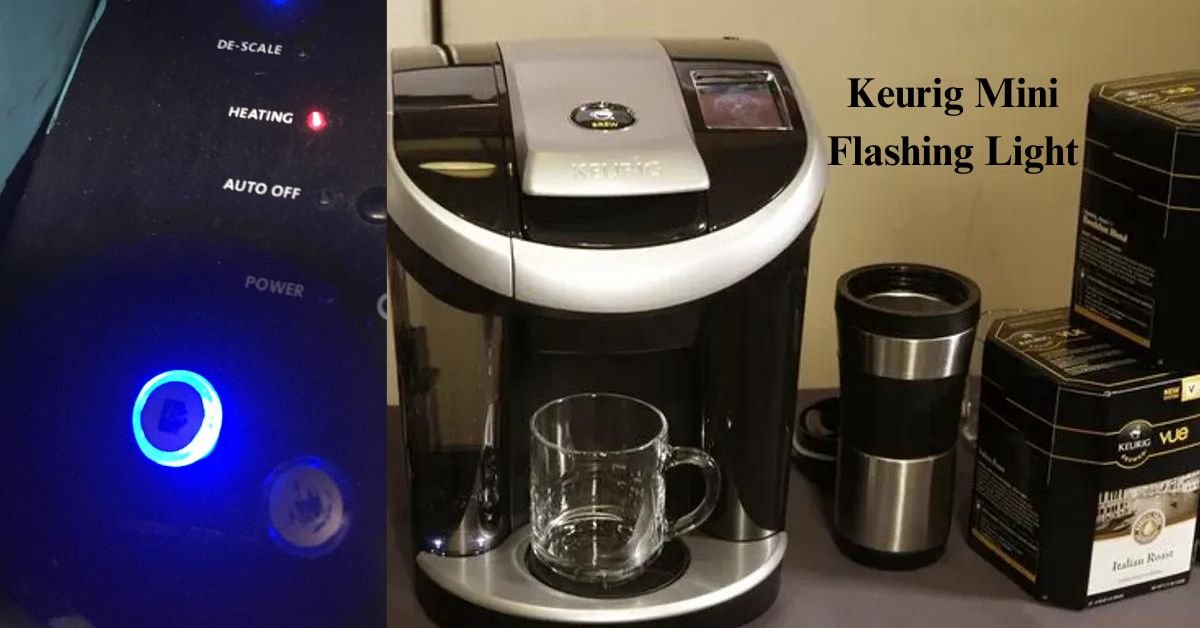
The brewer button on the Keurig coffee machine will display a red mini flashing light while heating and will turn solid red when brewing. If the coffee maker mini light flashes red for more than three minutes, there might be a problem.
What is causing my Keurig coffee maker’s light to flash?
In this post, we will look at the various reasons why your Keurig coffee maker mini flashing light is blue, red, or other colors. We will investigate the significance of these Keurig mini flashing lights and suggest options to assist you in resolving the problem. We hope that by going more into this topic, you will have a better grasp of what is generating the flashing lights and how to address the issue.
Here are some probable causes for the Keurig mini flashing lights are on:
- The coffee machine needs to be descaled
- The “ Add Water”, “Heat” and “Medium Cup” mini flashing lights are all blinking simultaneously
- The Water tank has less water or it is empty
- Reusing the K-cups and overpacking them
- The use of distilled water
- The Exit or Enter needle needs to be replaced
- The magnet in the water tank is jammed
- The valve at the bottom of the water tank may be blocked
Let’s discuss the possibilities related to blinking of the Keurig mini flashing lights and troubleshoot them:
Flashing Light: Add Water, Heating, and Smallest Cup Size
The flashing Keurig mini lights indicate that the coffee machine needs priming. There must be some kind of blockage that hinders the water from moving from the tank through the brewer. That means we have to clean the water tank, reservoir, and filter screen (if there is one)
Now moving to the steps:
Step 1: Make sure that the Cold Water Reservoir is installed properly by removing it and reinstalling it. Before that, check for any kind of blockage at the base.
Step 2: To fix your brewer, follow these steps: First, remove any cup pods from the brewer’s head. Then, run a brew cycle with just water in a measuring cup, choosing either a 6 Oz or 8 Oz cup size. If the amount of water in the cup matches the selected volume, your brewer is fixed. If not, you should check the water filter. If you have a water filter in your tank, proceed to step 2. If you don’t have a water filter, proceed to step 3.
Step 3: Do you have a water filter installed?
If yes, then uninstall the water filter and run water through the brew with no pod into the measuring cup. What did you find? If the brew is successful, then change the charcoal filter, and if the brew is not successful, then let’s move to step 4.
Step 4: In case you have no filter or you didn’t get the correct volume of water, conduct three more water brews without pods in the 6 Oz and 8 Oz into a measuring cup. If there was the correct amount of water dispensed, then use the measuring cup to find out the exact amount of flow.
If the above steps didn’t work, then try cleaning the exit needles.
Cleaning the Exit Needles
- To clean the exit needles, you just need a paper clip and some precautions, as these needles are very sharp.
- Hold one end of the paper clip and make it straight
- Keep the machine off and unplugged, and don’t forget to remove the water tank.
- Remove the K cup holder.
- To separate the holder from the housing, press the buttons on both sides of the device. This will allow you to detach the holder. Next, push the lever to reveal the exit needle.
- Hold down the lever and flip the holder over.
- Now Insert the straight end of the paperclip between the needle area at the bottom and the top and move it around in circles a few times. Wash the pod holder with water and let it dry.
- Put back the pod holder and close the lid.
The blinking light of Keurig Descale
The water that runs through your brewer has minerals that cause limescale to coat your unit. This can become a block. To remove this coat, you need to descale your coffee maker. Once you finish descaling, the Keurig mini flashing light will turn off. The K Duo Keurig model works the other way, as you have to long press the 8 Oz and 10 Oz buttons for a few seconds to turn off the descale alert. Now let’s come to the steps to descale your device:
- Make sure to unplug your machine.
- Uninstall the filter and get rid of it.
- Now pour the descaling solution into the machine so that there is no residue of dirt.
- Now put the machine with the cup underneath it.
- Dispose of the combination in a safe place
- Now it’s time to turn the machine on
- In the end, don’t forget to clean the water reservoir.
Now that you have finally descaled your machine from inside and out. Enjoy the taste of your refreshing coffee to keep your day energized.
There is good news for you that your coffee machine will last for many more years.
Warning: You might need to descale your machine if the descale light is on. Then you should descale the machine one more time. Don’t worry, it happens when the mineral level in the machine is high. Likely, you haven’t descaled it in 3-6 months. If the Keurig descale light is still on after the second descale, then you have to contact the support line by phone at 1-866-901-2739.
Why it’s easy to use Keurig Descaling Solutions?
The good news is that your Keurig coffee maker comes with its descaling solution that works with all of the models. They are easily available, as you can order them online along with the rinse pods and filters. They are made with such a formula that people with any kind of allergy to the smell can also use them. The citric acid in the solution is designed to cut the mineral coating. Don’t worry, your brewer is safe when you use this descaling solution.
Brew Button Flashing Red (K15 and K-Mini Plus)
Don’t worry if you see the brew mini flashing light turn red on your Keurig coffee maker. It’s normal while the brewer is heating up. Once it’s ready to brew, the light should become steady. However, if the red light keeps flashing for more than three minutes, it’s best to reach out to our support team either online or by phone at 1-866-901-2739.
Clock And Power Buttons Flashing (K-Elite)
If your brewer shows the Clock and the Power Buttons flashing at the same time, don’t worry; it just needs a restart. Plug it out of the wall outlet and then put it back in. Turn it on, that will help, but the clock will reset. If this doesn’t help, then call the support center.
Frother Light Flashing (K-Café)
Keurig K Cafe has two different kinds of frother lights. The frother mini flashing light on the base blinks, giving a warning that you are trying to froth while the brewer is preparing the coffee. If the frother lights at the base are all blinking, it means there are three issues.
- The whisk is not correctly placed in the frother
- There is not enough milk in the frother
- The frother is not attached securely to the base
If the problem still exists, then contact support.
Red Light: Packing the Reusable K-Cups Too Tightly and Reusing them
When you use the refillable K-cups and pack them too tightly, Keurig red mini flashing light will indicate that there might be a lump of coffee as the K-cup has been packed too tightly and the coffee becomes too dense for the water to pass through it. This red light indicates that there is a blockage in the pipeline, so the descaling light is turned on.
The solution is obvious the K-cup should not be filled to the brim, and avoid packing it too tightly. If you doubt that the packing is not the issue, then try removing the pod and running it. If it’s working, then you’re good to go.
The water reservoir is low: blue mini flashing light blinks
The blue mini flashing light is blinking to indicate that the Keurig machine is low on water. In that case, fill the water tank with a minimum amount of cold and fresh water for it to work properly. If this doesn’t work, then restart the machine before brewing your coffee.
Red Light: The reservoir’s magnet is dislodged
This is a common problem with Keurig coffee makers, as it turns the brewer off unexpectedly and turns on the mini flashing red light continuously between brews. It can also cause the red light to flash continuously. To solve this issue, remove the water reservoir and replace it. Check whether the magnet in its reservoir is dislodged in the process of brewing due to the machine’s vibration.
- The red light can also indicate that the machine is stuck in ‘Heat Up’ mode.
- There is no need to worry; we can solve this problem in a few simple steps:
- Disconnect the coffee maker after turning it off.
- Remove the water reservoir and wait for 5 seconds
- Repeat steps 1 and 2.
- Install the water reservoir and press the menu button.
- If the “NOT READY” button shows up, lower the handle.
The onboard computer is unresponsive and not working
This could be a serious issue, but not for long. We can easily reset the “brain” of your coffee machine and get it back to normal functioning:
Step 1: Make sure the brewer is turned off, as at this point, the Keurig mini flashing light must be blinking without any kind of work.
Step 2: Now press the Shut off Button
Step 3: Moving on, now press and hold both cup-size buttons if there are two cup sizes, and if there are three cup-size selections, then you need to press and hold down the medium and large cup-size buttons.
Step 4: After all the Keurig mini flashing lights are turned off, release the buttons. Don’t worry, it’s a coffee machine with an inbuilt computer, so it will now turn itself back on, and you can be back to coffee making and experiencing the heavenly taste of your coffee. But if the brewer doesn’t turn on automatically, use the power button.
Conclusion
Finally, the Keurig Mini flashing light problem is simply solved by following the basic troubleshooting techniques outlined in this tutorial. These procedures can help you get your Keurig coffee maker back up and running quickly, from cleaning the machine to activating the “descaling mode” and ensuring the needles are unclogged. Remember that prevention is vital, and utilizing a water filtration system and frequently descaling will help you avoid this problem entirely. If you continue to have problems, please contact Keurig’s support staff for assistance.
FAQS
- Why is my Keurig Mini flashing light blinking red?
Under normal operation, the Brew Button will flash red when the brewer is heating and will turn solid red when brewing. If the Brew Button flashes red for longer than 3 minutes, please contact Customer Service at 1-866-901-BREW (2739).
2. Why is my Keurig mini flashing light blinking blue?
Solution: Simply add more water to the reservoir.
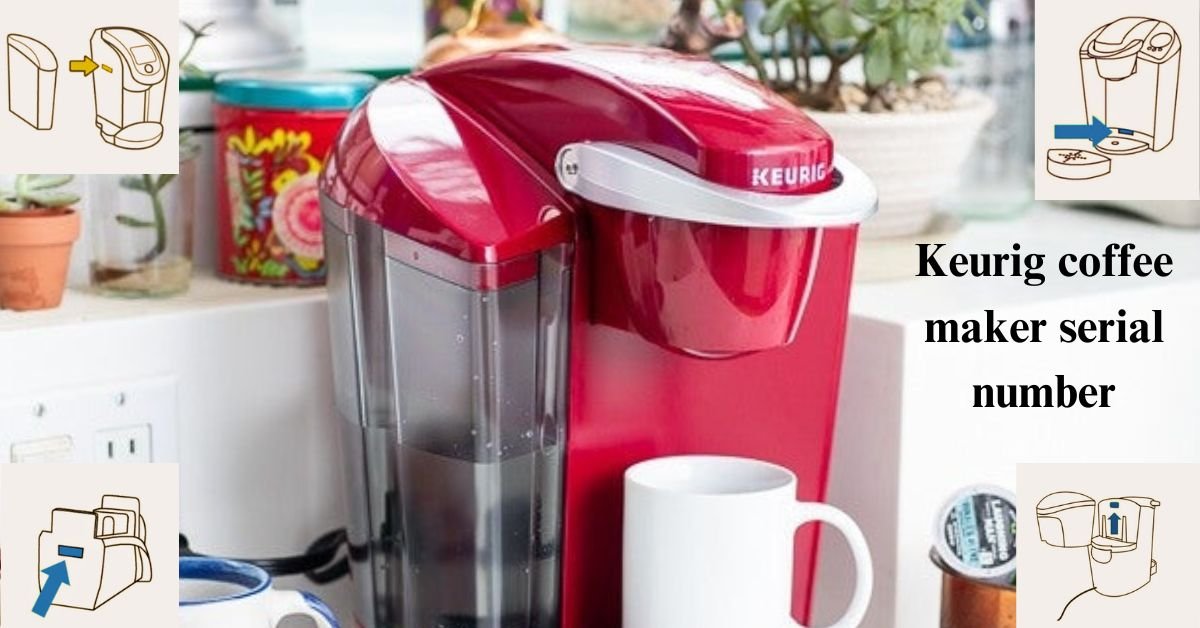
3. I want to know about Keurig’s serial number.
Sure, you can find the guide to Keurig serial numbers in the following article
https://zorancoffeestop.com/keurig-coffee-maker-serial-number/
4. Why is my Keurig duo add water mini flashing light blinking?
If your Keurig adds water light is flashing, your Keurig machine is not detecting the water reservoir, or there might be an issue with the reservoir itself.