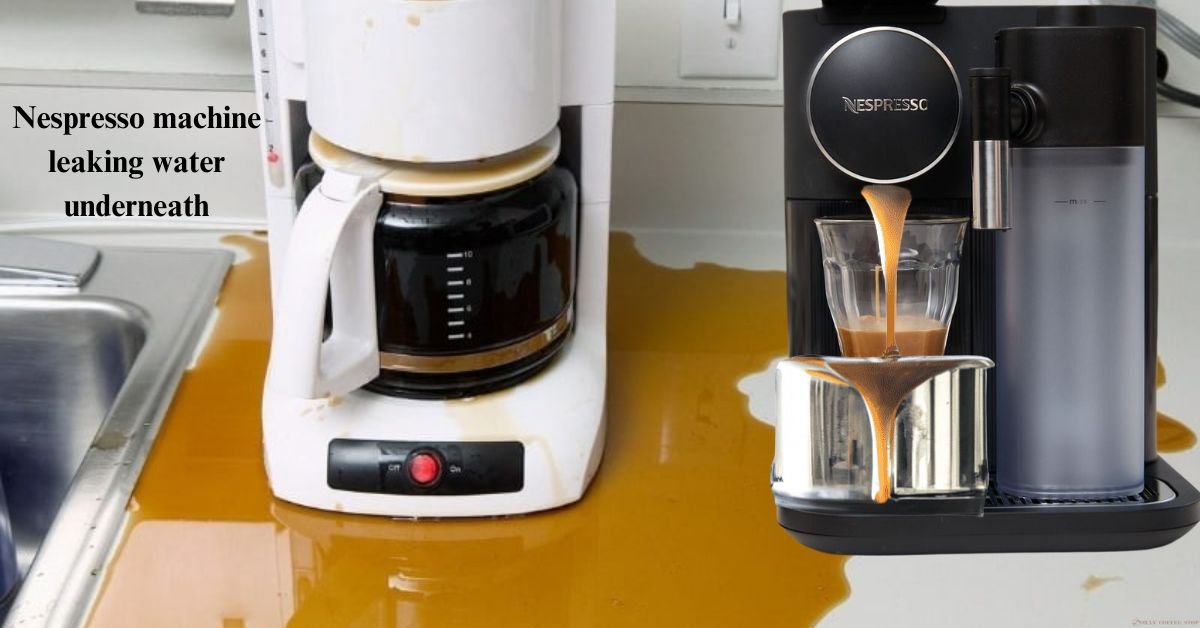
There are many times when we are asked – “Nespresso machine leaking water underneath?” It is completely normal for some of the water or coffee to leak into the capsule container. Usually, this happens when you do not insert a capsule into the machine, and the brewing unit is not sealed with the capsule.
Moreover, coffee residue can clog the internal pipes in the machine, resulting in calculus if not cleaned on time. A buildup of coffee residue inside the machine can cause internal components to clog and leak. If you suspect leaking pipes, disassemble the machine and look for them.
Or there are times when bad luck (and other times) can cause your Nespresso machine to malfunction just when you do not expect it!
We will cover the possible issues regarding leakage in this article, but what do you need to do? Read all the guiding steps individually and determine whether your problem is related. Let’s get started!
What can I do about the leaking water on my Nespresso Machine?
A will always finds a way. Most people throw things out as if they are useless, but have you ever thought about investigating what’s causing the problem? Isn’t it great to know it can be fixed? Let’s begin addressing the issues, so you can ensure that your Nespresso machine operates flawlessly, allowing you to enjoy your favorite coffee without any leakage problems or end up buying a new one.
Step 1: Cleaning and Descaling
We all love our morning coffees and all the joy our coffee machine brings us, we often forget to give them the attention they need. Without regular maintenance, limescale can build up in the machine’s internal pipes. As a result, internal components can get clogged and leak. Descaling and cleaning your coffee machine are important steps to getting delicious coffee, but they are often overlooked.
Follow these simple steps of the Cleaning and Descaling process:
Cleaning Process
- To begin with, you will need to rinse and clean the water tank and the lid. Wash all separate parts with hot water and a mild soap-free detergent.
- Fill the tank with clean water, close the lid, and put it back in the machine.
- Place the bowl under the coffee outlet.
- Empty and rinse the capsule container and the drip tray. Close the machine head and press the button.
- A green light will blink while the machine heats up. It takes about 40 seconds. When the green light is ready, the water is steady.
- Press the coffee button 3 times within 2 seconds to start cleaning.
- Let the cleaning process run automatically; an orange light will blink. Beginning the cleaning process and water flow should take less than 2 minutes.
- This operation may take up to five minutes and will stop automatically with the cycle is complete.
- The procedure can be stopped anytime by pressing the button. When the light becomes steadily clean, cleaning is done.
Descaling Process
It has been found that scaling and blockages within Nespresso machines are one of the primary causes of leaks. If you haven’t descaled your machine in a while and are experiencing leaks, then descaling should be your first step.
If you use 600 cups of coffee a month, or 3-6 months, you should descale the machine once a year! However, you must descale your machine more frequently if your water contains high mineral or calcium content as it can pass through your machine, which can negatively impact your machine’s operational ability and affect the taste and temperature of your coffee or cause your machine to stop working completely.
You may need to descale your coffee machine if you notice these signs or symptoms:
-
It tastes dirty/burnt.
-
There is a strange noise coming from your steamer or machine when you use it.
-
There is a slowdown in the flow of coffee from your machine.
-
It’s not as hot as it should be.
-
Your machine will indicate when descaling is needed by a simultaneous red and green line.
How to Descale your Vertuo Nespresso Machine?
- First, you will need a container to collect the residue and one unit of Nespresso descaling agent.
- Open the machine head and let the capsule be ejected. Once that has been done, close the machine head by pushing the lever down for 3 seconds.
- Empty the drip tray and Capsule Container.
- The tank should be filled with 0.5 liters of water, and one unit of Nespresso descaling agent liquid should be added. Push the lever down and press the button for 3 seconds. An orange steady light indicates your machine is in the menu boat.
- To enter descaling mode: Push the lever down once. Place a liquid container under the coffee outlet. Press the coffee button.
- An orange light will blink during the descaling process.
- At the end of the descaling stage, rinsing is needed. Empty the container and place it back under the coffee outlet.
- Fill the water tank. Press the button 3 times within 2 seconds to start rinsing. Let it complete automatically. An orange light will blink during the process. It takes less than 2 minutes before the rinsing process begins. This operation will take up to 5 minutes. It will stop the auto.
- The procedure can be stopped anytime by pressing the button. When the light becomes steady, the rinse has been done.
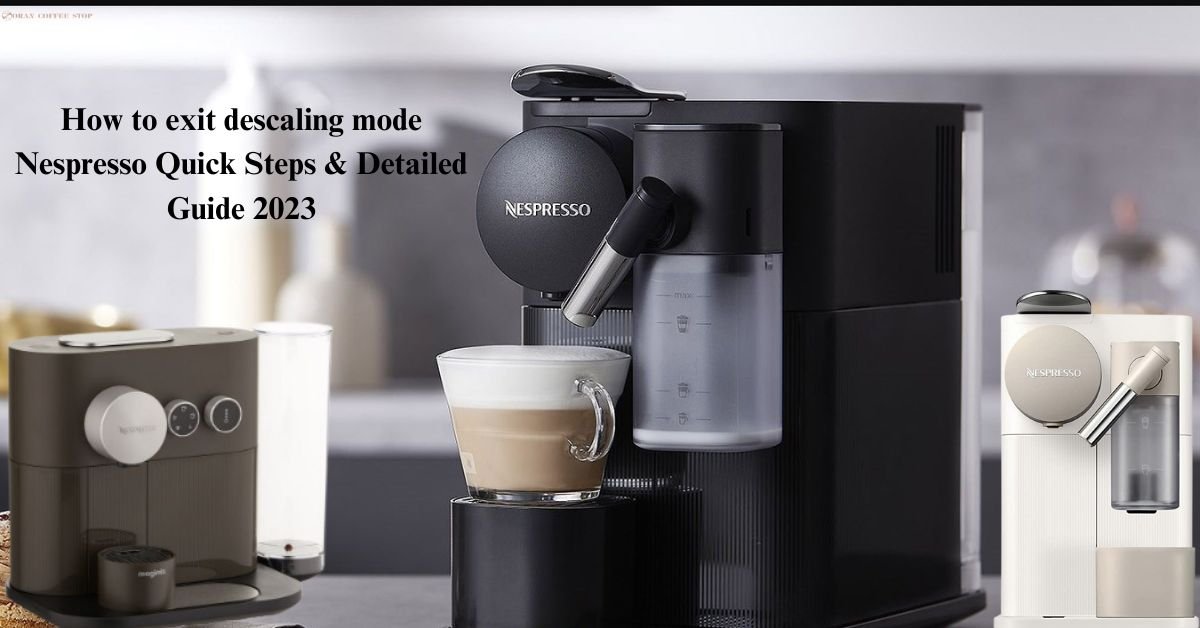
- To exit this mode, push the lever down and button at the same time for 3 seconds
Note: Let the machine dry for 10 minutes before ready to be used.
Warning: Descaling agents can be harmful. Avoid contact with eyes, skin, and surfaces
How to exit descaling mode Nespresso Quick Steps & Detailed Guide 2023
Step 2: Nespresso machine leaks water from underneath.
There’s a leak from the bottom if you see water puddles or drops under your Nespresso machine. This usually happens when the machine is turned on, and water collects on the countertop below.
To check for leaks, lift the machine right after using it and see if there’s any pooling. The amount of water that escapes depends on how serious the problem is. It’s important to fix the leak quickly so your Nespresso machine works well and isn’t damaged.
Let’s find out by addressing these issues, you can ensure that your Nespresso machine operates flawlessly, allowing you to enjoy your favorite coffee without any leakage problems and enjoy your favorite coffee without any hiccups in the future!
Checkout Leakage in a Water Tank
To identify the source of the water leak, follow the following steps:
- Start by carefully removing the water tank and inspecting it for any cracks or breakages. Examine the connection between the water tank and the rest of the Nespresso machine, ensuring that the rubber seals joining these components are intact and free from leaks.
- Next, perform a simple test by placing the water tank on a countertop. Keep an eye out for any water that continues to leak out. Placing a paper towel underneath can help you detect even small leaks more easily.
- If you find water forming underneath the tank during this test, it indicates that the valve at the bottom has perished.
In such a case, you have a couple of options.
- You can contact Nespresso to purchase a replacement water tank.
- Alternatively, you can explore second-hand shops or recycling centers for potential options.
- Another convenient option could be to search for compatible replacement water tanks on platforms like Amazon, which may offer fast shipping if they have the right model for your specific needs.
Once you’ve identified the water tank as the issue and obtained a new reservoir, you can replace the faulty one, ensuring a proper fit. This should resolve the leaking problem and allow you to continue enjoying your Nespresso machine without any water leakage concerns.
Fault in Internal Pipework or Heating Element
Finding leaks in your Nespresso machine can be done simply by running the machine while it’s disassembled. This allows you to observe any water loss and identify possible breakages that could be causing the leaks. The high temperatures generated by the Nespresso heating component can cause degradation of the pipework and seals. It happens because the metal heats up and expands, then contracts again as it cools down.
Remember: It is important to note that running the machine with the case open is extremely dangerous and should only be attempted at your own risk. It’s crucial to remember that water and electricity don’t mix!
To determine the cause of the leakage, things you’ll need to do:
- Carefully disassemble the Nespresso machine by removing the back screws and opening the rear panels.
- A darker, brown, or gray boiler might indicate that water has been dripping onto it for some time.
- Always remember to unplug the Nespresso device before any servicing to prevent electrical shocks and short circuits.
NOTE: Keep in mind that doing so may void your Nespresso machine’s warranty, so proceed with caution and only if the warranty period has expired.
It’s important to be aware of these issues as they can affect the performance and lifespan of your Nespresso machine. Regular maintenance and monitoring can help identify and address any leakage problems promptly, ensuring you can continue enjoying your favorite coffee without interruptions.
By following these steps, you can gain a better understanding of the underlying issues causing the leaks in your Nespresso machine and take appropriate action to address them.
Golden Advice: The best course of action is always to replace the damaged parts of a machine rather than repairing the old ones. Older parts can fail again, so replacing them is preferable to repairing them.
Water Leaking from the Drip Tray
Leaking can be a common issue with certain Nespresso coffee makers when the drip trays become full and overflow onto other components. But don’t worry, there’s a simple solution!
If you notice your machine leaking, it’s likely because the drip tray is filled with water. To fix this, just remove the drip tray, empty the accumulated water, and place it back in its designated position. Once you’ve done this, your Nespresso machine should no longer leak water.
By taking this simple step, you can quickly resolve the leakage problem and ensure that your Nespresso coffee maker operates smoothly, allowing you to enjoy your favorite cup of coffee without any unwanted surprises.
Remember: To regularly check and empty the drip tray to prevent future leaks and maintain the optimal functioning of your Nespresso machine.
Step 3: Nespresso Machine Leaking from a Capsule Holder
Have you ever faced a situation where while preparing your coffee, you inserted a coffee capsule into a capsule holder, but your coffee ended up leaking out the front? First, ensure the coffee capsule is properly seated in the holder if your capsule area leaks. Coffee grounds and residue left behind can build on the grid place, blocking coffee from flowing. A dirty grid plate brings old coffee into your cup.
Another possible reason is due to a failure of the water to enter the capsule completely to get inside the capsule properly. The water should flow into your cup or mug at high pressure in a normal Nespresso machine. If there are spaces between the capsule and its compartment, you will experience this problem.
It is just a matter of identifying the exact causes and then finding the correct solution in such a situation. Happily, they are much easier to fix than you might think.
You are using a defective or 3rd party capsule
Some of you have been using pods by different brands for different reasons, maybe the original ones’ costs are too high, or you like the taste doesn’t suit the original brand. That doesn’t mean sticking with the original Nespresso pods is a must. Let us consider a few things to consider while buying a Nespresso pod.
- 3rd party coffee pods with low quality may cause leakage
- as the size that is compatible with your machine.
- It is recommended always use trusted third-party capsules like Starbucks or original Nespresso capsules.
Check out the Nozzle Blockage
Whenever you brew coffee, your coffee comes out of the coffee chamber rather than through a nozzle. It indicates that a nozzle is blocked because the residue is left in the coffee chamber or if you do not keep up with regular maintenance. Remaining coffee residue can build up and cause clogging easily.
Before you decide to discard your machine, follow these steps of how you can quickly repair it:
- To clean the nozzle, you can use the pin-cleaning tool stored under the water tank. Simply push the needle through the holes to remove any gunk.
- When unclogging a pipe, you can use a needle, but you should be careful as not doing it correctly could damage the pipe.
TIP: Clean it with a Stainless steel wire brush with a cup of hot water and add baking soda or a soapy water and scrub the piercing plates removes bacteria and makes it new. Use can you an old tooth brush as an alternative.
Preventive Measures You Can Take
To minimize the risk of water leakage in the future, consider implementing the following preventive measures:
Proper Maintenance: Frequently cleanse and remove limescale from your Nespresso coffee maker according to the manufacturer’s guidelines. It will aid in avoiding obstructions and verifying the right operation of its parts.
Avoid Overfilling: Consistently follow the maximum filling point specified on the water tank. Excessive filling may leak water and harm your Nespresso machine’s performance.
Gentle Handling: Operate your Nespresso machine cautiously to avert any unintentional damage to the water container, seals, or gaskets. Refrain from putting bulky items above the device or applying unnecessary excessive force.
Nespresso Leak Conclusion
In summary, dealing with a leaking Nespresso machine can be a bothersome experience, especially when all you want is a seamless coffee-making process. However, there’s no need to panic because finding a solution is easier than you might think. By following a few troubleshooting steps, you can quickly identify the culprit behind the leakage and take the necessary steps to resolve it.
One common cause of leaks in Nespresso machines is the device regular descaling. Descaling your machine on time helps prevent mineral buildup and blockages that can lead to leaks. Therefore, if you’re facing a leakage issue, it’s a good idea to start by descaling your machine.
By addressing the problem promptly and taking proper care of your Nespresso machine, you can ensure it continues to deliver delicious coffee without any unwanted leaks. So, don’t let a little leak dampen your coffee experience—tackle it head-on, and soon you’ll be back to enjoying your perfect cup of Nespresso with peace of mind.
FAQS
What is fluid seeping from my espresso machine?
There may be numerous causes for a water leak from your espresso machine. The most common causes include:
- Make sure that the reservoir is tightly fitted inside the device. Inspect for any fractures or destruction that could be leading to the seepage.
- Overfilled drip tray
- Tight or faulty water tube or link
What is the way to resolve water Leakage in my Nespresso machine?
You can experiment with the following problem-solving techniques to repair leaking water from your coffee maker.
- Clean the water pump.
- Empty the drip tray.
- Check and tighten connections.
Is there a possibility that a broken water tank leads to water dripping?
A faulty water tank could result in water spillage from your Nespresso device. If the water tank has a crack or experiences any additional damage, it could fail to seal correctly. It can lead to leaking water. In similar situations, experts suggest substituting the reservoir with a fresh one.
Why does the pump move water, resulting in water leakage?
If the water pump within your Nespresso appliance becomes obstructed or defective, this could lead to water leakage. The machine might not adequately propel the fluid within the mechanism. If essential, washing the water device or changing the system can assist in solving the matter.
Do Nespresso machines often have water leakage, a widespread concern among Nespresso machines?
Although water leakage might occur with Nespresso machines, it is rare. Most cases of water seepage result from user oversight or inadequate upkeep. Frequent maintenance, correct installation, and immediate problem-solving can help prevent and resolve unwanted water escape.