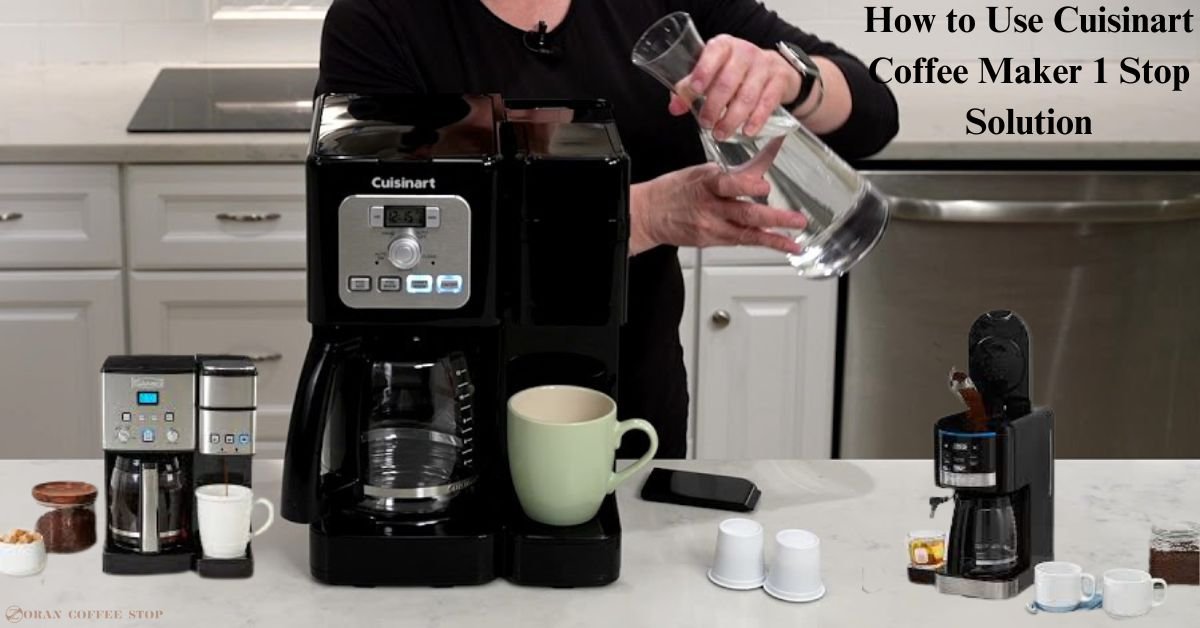
Cuisinart coffee makers have been a popular choice for coffee lovers for over 50 years. They are known for their high quality, durability, and ease of use. Some of the features that make Cuisinart coffee makers so popular include programmable timers, thermal carafes, and removable water reservoirs.
In this comprehensive guide, we will walk you through the process of How to Use Cuisinart Coffee Maker, with a start by getting familiar with the basic parts of the Cuisinart coffee maker, so you can confidently navigate its functions. Afterward, we’ll take you through the essential steps, from filling the water reservoir to adding coffee grounds, and end up in the perfect pot of coffee.
But wait, there’s more! We won’t stop at just the basics. We’ll share some valuable tips and tricks to help you brew the best possible cup of coffee with your Cuisinart coffee maker. Whether you prefer bold espresso shots, a classic drip brew, a rich and creamy cappuccino, or a smooth and flavorful French press, your Cuisinart coffee maker can do it all.
So, let’s get started on this coffee adventure together! By the end, you’ll be sipping on your perfect cup of coffee made right in your kitchen.
How to Brew Perfect Cup Using Cuisinart Coffee Maker?
The perfect cup of coffee starts with the right ingredients. First, the quality of your water is essential for a good cup of coffee. Use filtered or bottled water for the best results. Moreover, the grind of the coffee is also important. Use fresh, high-quality coffee beans. For a drip coffee maker, use a medium-coarse grind.
The ratio of coffee to water is also important. A good starting point is 2 tablespoons of coffee for every 6 ounces of water. The brewing time will vary depending on the type of coffee maker you are using. For a drip coffee maker, brew for 4-6 minutes.
How To Use A Cuisinart Coffee Maker?
Get ready for a coffee-making adventure with your Cuisinart coffee maker! Whether you have the 12-cup model or the single-serve version, we’ve got you covered with simple, step-by-step instructions to brew the most delicious coffee at home. From filling the water reservoir to finding the ideal coffee-to-water ratio, we’ll walk you through the entire process.
Let’s explore the wonders of your Cuisinart coffee maker together! Get ready to savor each sip of perfection!
Cuisinart coffee maker charcoal filter
A better-tasting cup of coffee is just a filter away! The charcoal water filter is a small but mighty addition to your Cuisinart coffee maker, making a big difference in the flavor and quality of your coffee. Searching Cuisinart charcoal water filters how to use? Don’t worry; it’s easy to use! Just follow these detailed yet straightforward steps for both the 12-Cup Coffeemaker and Single-Serve side;
How to Put Filter in Cuisinart Coffee Maker
- Take the water filter out of its packaging and place it in a bowl of cold tap water. Let it soak for about 15 minutes. This step activates the charcoal inside the filter, making it ready to work its magic.
- Look for the water filter holder on the side of your Cuisinart Coffeemaker. It’s where the filter goes.
- Now that the filter is ready, Put the soaked filter into the holder and close the compartment carefully to avoid tearing the filter.
- Run cold water through the holes at the bottom of the compartment for 10 seconds to activate the charcoal.
- After rinsing, let the filter drain completely. It’s essential to allow it to get rid of any excess water before brewing your coffee.
- Slide the water filter holder back into the water reservoir of your Cuisinart Coffeemaker. Push it down securely to make sure it’s in place and ready to make your coffee taste even better.

Cuisinart coffee maker water filter how often to replace
The charcoal water filter takes care of the water and Eliminates chlorine, bad taste, and odors from tap water. For the best results, remember to change the water filter every 60 days or after 60 uses, especially if your water is hard. This keeps your coffee tasting fresh and delightful with each cup.
Where To Buy Cuisinart Charcoal Water Filters?
When buying Cuisinart charcoal water filters, it’s important to make sure that you’re getting the right size and quality for your coffee maker. The Cuisinart website sells a variety of water filters, including charcoal water filters. You can order them directly from the website and have them shipped to your home.
You can conveniently purchase Cuisinart charcoal water filters at various other places, including Walmart, Target, and Amazon. Amazon offers a wide selection, with different pack sizes, and often includes free shipping options. Here are some top recommendations for your ease;
- Cuisinart Compatible Coffee Filter Replacement by Pureline – Charcoal Water Filter – for all Cuisinart Coffee Machines (12 Pack)
- 12-Pack Replacement Charcoal Water Filters for Use with Cuisinart coffee machines
- Cuisinart Replacement Charcoal Water Filters (Set of 2) (1)
- Cuisinart DCC-RWF *Triple Pack* Charcoal Water Filters in Cuisinart DCC-RWF Retail Box
- Cuisinart DCC-RWF-6PK (12 Filters) Charcoal Water Filters in Cuisinart DCC-RWF Retail Box
How to use Cuisinart coffee maker 12 cup
Your Cuisinart 12-Cup Coffeemaker brings the joy of brewing fresh coffee right into your home. To ensure a perfect brew every time, let’s walk through the detailed steps for preparing and brewing delicious coffee with your Coffeemaker.
Step 1: Prepare the Coffeemaker
To get started, insert the provided charcoal water filter into your 12-cup Cuisinart coffeemaker. This filter helps to enhance the taste of your coffee by removing impurities from the water. With the water reservoir open, carefully fill it with the desired amount of water. The water level indicator on the side of the coffeemaker will guide you in determining the appropriate amount of water needed.
Step 2: Get Ready for Brewing
Before you begin the brewing process, make sure that the glass carafe is correctly positioned on the heater plate. The top cover of the coffeemaker should also be securely closed. Now, plug the power cord into an electrical outlet, and your coffeemaker will be ready for use.
Step 3: Adjust Brewing Preferences
Customize your coffee experience with a few simple adjustments. To brew a stronger cup of coffee, press the “BOLD” button located on the control panel. When the “BOLD” button is enlightened, you’ll know that your coffee will have a richer and bolder flavor.
Additionally, the 12-cup Cuisinart coffeemaker allows you to choose your preferred carafe temperature. Simply turn the Carafe Temperature dial to Low (L), Medium (M), or High (H), and the heater plate will keep your coffee at the temperature you select.
Step 4: Add Ground Coffee
Preparing your coffee for brewing is the next step. To do this, remove the filter basket by gently lifting it straight up using the handle. Now, you have the choice of using a #4 paper filter or a permanent filter. Whichever you choose, make sure the filter is fully opened and inserted correctly in the basket. For each cup of coffee you plan to brew, add one level scoop of your preferred ground coffee.
Feel free to adjust the amount to suit your taste preference. However, keep in mind that the maximum capacity for ground coffee is 15 tablespoons (221 ml) for this coffeemaker. Going beyond this amount might cause overflow, especially if the coffee is finely ground. Once the coffee is added to the filter, carefully place the filter basket back into the filter basket holder, ensuring it is pressed firmly to close securely.
Step 5: Begin the Brewing Process
With the coffeemaker fully set up and ready to go, it’s time to start brewing your favorite cup of coffee. Turn the Function knob to the “BREW” position and press the “BREW/WARM” button. Once you do this, the blue indicator light will begin to flash slowly, indicating that the brewing process has begun.
Alternatively, if you prefer your coffee to be ready at a specific time, you can use the “AUTO ON” function. In this case, the “Auto On” indicator will light up to let you know that your coffeemaker is programmed to brew at the chosen time.
Step 6: Enjoy Your Brewed Coffee
When the brewing cycle is complete, your coffee will continue to flow from the filter for a few more seconds. Once the streaming stops completely, you’ll hear five beeps, signaling that your coffee is now ready to be savored. When serving your coffee, be mindful that the reservoir cover may be hot during and directly after brewing, so it’s best to wait at least 10 minutes before opening it.
Brew Pause™ Feature
Your 12-Cup Cuisinart coffeemaker comes equipped with a convenient Brew Pause feature. This allows you to pour a cup of coffee mid-brew, even before the brewing cycle is complete. However, keep in mind that the flavor profile of coffee brewed at the start of the cycle may differ from that brewed towards the end. As a result, using the Brew Pause™ feature might weaken the overall flavor strength of the finished pot.
It’s also important to note that removing the carafe for more than 20 seconds during this process could cause the filter basket to overflow, resulting in a mess. So, exercise caution when using this feature.
Cuisinart Single-Serve Coffee Maker Instructions
Your Cuisinart Single Serve Coffee Maker is the greatest companion for those desiring a quick and pleasant cup of coffee. With easy-to-follow steps and a variety of brew options, you can enjoy a freshly brewed beverage in no time. Let’s explore the process of brewing a perfect cup with your single-serve coffee Maker in just 8 simple Steps.
Step 1: Fill the Water Reservoir
To begin the coffee-making process, carefully remove the water reservoir from your Cuisinart single-serve coffeemaker. This step ensures easy and mess-free filling. Once removed, proceed to add water into the reservoir. It can hold up to 40 ounces (1.1 liters) of water. Ensure you fill it to the appropriate level for your desired cup size. Once filled, securely place the water reservoir back onto the coffeemaker unit.
Step 2: Power On the Coffeemaker
With the water reservoir in place, you’re ready to power on the single-serve coffeemaker. Look for the power switch, located on the side of the unit, and press it to activate the machine. Once turned on, you’ll notice that the brew buttons on the control panel illuminate, indicating that the coffeemaker is ready for use.
Step 3: Prepare Your Mug
Before you proceed to brew, take a moment to set up your mug. Ensure it is placed on the drip tray, which is designed to catch any potential drips or spills during the brewing process. The drip tray can be easily removed to accommodate larger travel mugs if you prefer.
Step 4: Select a Capsule
Cuisinart single-serve coffeemakers are designed to work with coffee capsules. Choose a coffee capsule that best suits your taste preferences and the desired coffee strength. It’s essential not to remove the foil lid or puncture the capsule, as this can affect the quality of your brew.
Step 5: Load and Dispose of the Capsule
With your chosen coffee capsule in hand, open the brew head of the single-serve coffeemaker. Carefully place the capsule into the brewing chamber, and ensure it fits properly in place. Once inserted, close the brew head securely. After the coffee is finished brewing, lift the handle and remove the used capsule. Dispose of the used capsule properly.
Step 6: Initiate the Brewing Process
You’re now ready to begin brewing your coffee. Press the desired brew button on the control panel to select your preferred cup size. Most Cuisinart single-serve coffeemakers offer options like 6, 8, or 10 ounces (170 ml, 235 ml, or 295 ml). The selected brew button will flash slowly to indicate that the coffee is in the process of brewing.
Step 7: Monitor the Brewing Process
As the brewing process begins, you can keep an eye on the coffee as it starts to dispense into your mug. If, for any reason, you need to interrupt or cancel the brewing process, simply press the selected brew size button once again to stop it. The brewing process will be complete when the coffee has stopped dispensing into your mug.
Step 8: Savour Your Cup of Coffee
Congratulations, your perfect cup of coffee is now ready for you to enjoy! Sit back, relax, and savor the delightful flavor of your freshly brewed coffee. If you wish to brew another cup, your Cuisinart single-serve coffeemaker is always ready to serve you again.
Your Cuisinart single-serve coffeemaker features an “Add Water” light that may glow when the water level in the reservoir drops below 10.5 ounces (310 ml). If you encounter this, simply refill the water reservoir to the appropriate level, and your coffeemaker will be ready to brew your next cup of coffee with ease.
How to clean a Cuisinart coffee maker
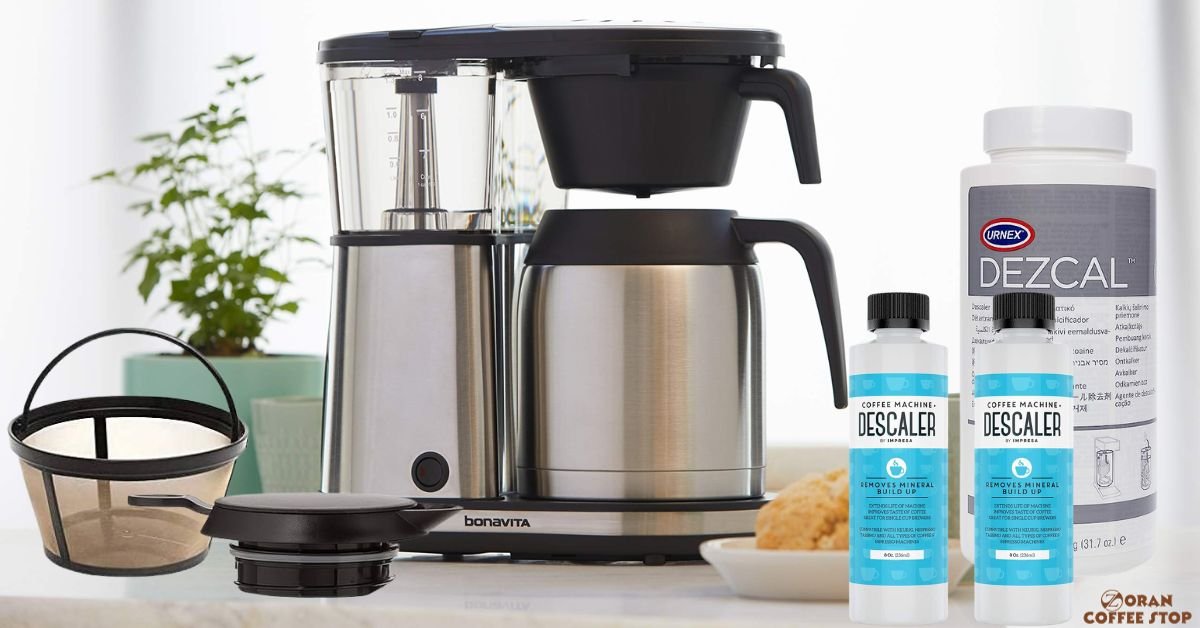
To ensure your Cuisinart coffeemaker continues to produce delicious coffee, it’s crucial to keep it clean and descaled. Cleaning is straightforward – just wash the filter basket, carafe, and lid with warm, soapy water or in the dishwasher. Wipe the exterior to remove any blemishes. For a more detailed guide on cleaning your Cuisinart coffee maker, you can refer to our comprehensive article;
For descaling, every 3 to 6 months, fill the water reservoir with a mixture of 1/3 white vinegar and 2/3 water, run a cleaning cycle, and rinse with cold water. With these simple steps, your Cuisinart coffeemaker will stay in excellent condition, providing you with a delightful coffee experience every time you brew.
Conclusion
In conclusion, this article has covered all the essential aspects of how to use a Cuisinart coffee maker. From the basic steps of filling the water reservoir and adding coffee grounds to more advanced tips like using a charcoal water filter and proper cleaning and descaling techniques.
No matter your coffee preference, Whether it’s a bold espresso, a classic drip brew, a rich French press, or a quick single-serve cup, your Cuisinart coffee maker is versatile enough to deliver the perfect cup every time. With these easy-to-follow steps, you’ll be brewing delicious coffee at home like a pro in no time. So what are you waiting for? Start brewing today!
As a bonus, here are some extra tips to enhance your coffee experience with your Cuisinart coffee maker, always use fresh cold water for the best flavor, and grind your coffee beans just before brewing to enjoy the freshest taste. Feel free to experiment with different types of coffee beans and roasts to find the flavor that suits your palate best.